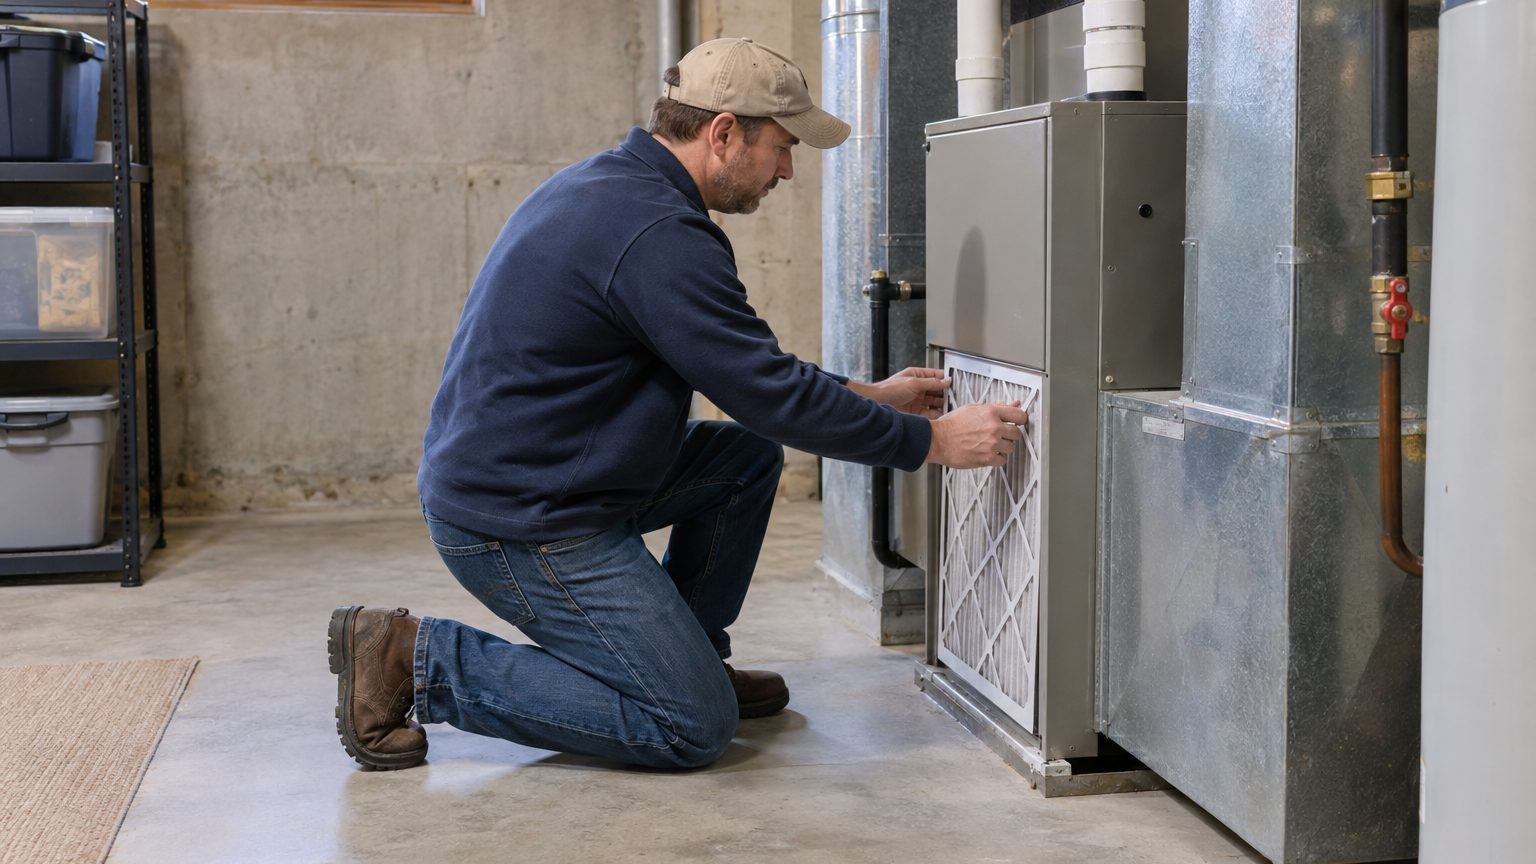
Changing a furnace filter takes about five minutes and requires no tools. What trips people up is the thirty seconds before that: finding the slot, reading the size, and pointing the arrow the right way.
A clogged or badly seated filter does more than let dust through. It starves the blower of air, so a cheap sheet of pleated media ends up protecting the most expensive appliance in your basement or utility closet. Guides citing the U.S. Department of Energy put the energy penalty for a dirty or improperly installed filter at 5 to 15 percent. Treat that range as a rule of thumb, not a guarantee. Still, the direction of the math is hard to argue with.
- The filter’s arrow must point toward the blower, away from the room.
- Printed filter sizes are nominal and run about half an inch smaller than actual.
- Basic 1-inch fiberglass filters need changing every 30 days to 3 months.
Where the filter is hiding
All the usual locations share the return side, the path pulling air out of your rooms. In practice, that means one of three places: behind a large return air vent on a wall, ceiling, or floor; inside the blower compartment behind a metal door or panel; or in a filter rack between the return duct and the air handler. Grille-mounted filters are especially common in newer homes and apartments.
Start at the largest duct feeding the furnace and trace it back.
If nothing opens, check for a filter cabinet attached to the ductwork near the indoor unit, or look for a large return grille that opens. Grille filters usually slide out from behind a hinged or latched face. Cabinet filters sit in a slim slot closed by a cover, and that cover needs to go back on tightly afterward. Whichever you find, that spot is yours for every future change.
Reading the size and the arrow
The size is printed on the cardboard frame of the old filter, so pull it out before you shop. You’ll see three numbers, something like 16x25x1, giving length, width, and thickness in inches.
Those numbers are nominal, not exact. A 16×25×1 filter actually measures about 15.5 × 24.5 × 0.75 inches, and you buy by the printed number anyway. A true fraction like 22.25 means a custom slot, which calls for a custom-size filter instead of a near fit forced into place.
Snap a photo of the old filter before pulling it.
One picture captures the size and the arrow, the two things people get wrong and cannot recover afterwards. The arrow shows airflow direction, and it always points toward the blower, away from the room. At a furnace or air handler, it aims at the unit. At a wall or ceiling grille, it points into the wall or ceiling, toward the ductwork. Once you’ve confirmed the direction, use a sticky note or permanent marker to mark the airflow direction on the outside of the furnace, and every future change stops being a guessing game.
Get it backward and airflow can be restricted, efficiency drops, the system strains, and the filter catches fewer particles. Size mistakes cause their own trouble, since a filter even half an inch too big will bow and leak.
The swap itself
Turn the system off at the thermostat or service switch, so the blower cannot start while the compartment is open. Open the panel or grille, then slide the old filter out flat and drop it straight into a trash bag. A filter carried across the basement sheds its dust on everything it passes.
Unwrap the new one completely: plastic off, cardboard frame on, and watch the sharp wire backing. Slide it in with the arrow toward the blower. It should sit flush with no gaps, because air bypasses a loose filter rather than passing through it. Close the panel, restore power, and let the furnace run a cycle. A normal start-up sounds the way it always did.
A loaded old filter still beats no filter at all.
That matters if a delivery runs late or you realize on a Sunday night that you bought the wrong size. Put the old one back, since running with no filter while waiting on a delivery is a common installation mistake, and swap it out as soon as the right one arrives.
How often, and which filter
Replacement timing depends on thickness. Basic 1-inch fiberglass filters typically need changing every 30 days to 3 months. Higher-efficiency 4-inch pleated filters usually last 6 to 12 months, though homes with pets or allergies may need more frequent changes. A shedding golden retriever can shorten those intervals considerably.
Check monthly, whatever the box promises. Hold the filter up to a light, and if you can barely see through it, replace it.
Then there’s the rating on the box. The EPA recommends at least MERV 13, or as high a rating as your system’s fan and filter slot can accommodate. The caveat is real, though: MERV 13 and above provide enhanced filtration but may restrict airflow in systems not designed for them. Look up your furnace’s specifications, or ask an HVAC technician at your next tune-up, before jumping to the densest filter on the shelf. A filter that suffocates the blower defeats its own purpose.
Thicker filters get more surface area and tend to last longer, but you should still check for buildup and airflow problems. Treat the printed interval as a ceiling, not a promise. A dusty renovation, a wildfire smoke week, or a house full of shedding pets can clog a filter well ahead of schedule.
Before closing the panel, write the install date on the frame’s edge with a marker. When you pull it out next time, you’ll know exactly how long it’s been working.
Sources : filterbuy.com | aer-terra.com